- Duplicate your Background layer, name it "Contrast mask", this new layer should be above any adjustment layers.
- With the Contrast Mask layer selected go to, Image / Adjust / Desaturate. The layer will now become monochrome, as will everything below it (for the moment).
- Go to, Image / Adjust / Invert. This turns the Contrast Mask later into a negative.
- Double-Click on the Contrast Mask layer on the Layers Palette and select Layer Options. Select Overlay blend mode.
- Go to, Filter / Blur / Gaussian Blur and set a value of between 10 and 250. This will enable you to fine tune the effect on your final image.
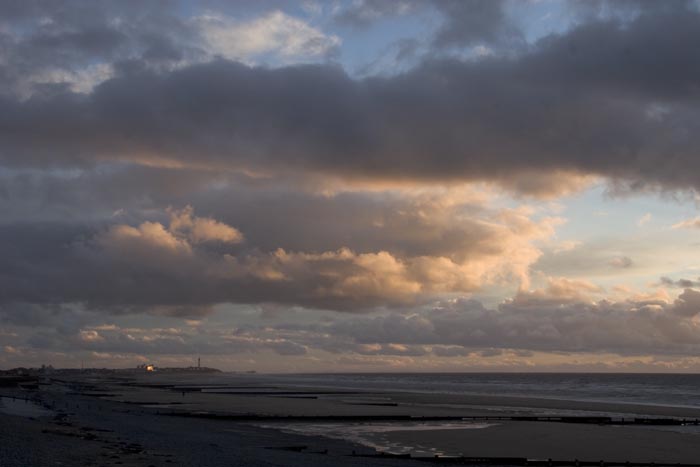 Before contrast mask
 After contrast mask
See finished image here.
No comments:
Post a Comment