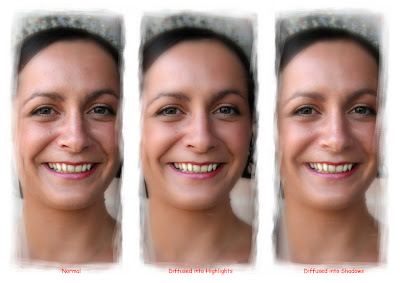
 [Click image to enlarge]
The result is high contrast images with blown highlights and their colour balance completely skewed, with a strong green/yellow cast to highlights, blue shadows and magenta reds. Having said that cross-processing can also produce a low-contrast pastel look.
There are numerous ways of producing a cross processed effect in Photoshop. One of the most flexible and none destructive methods is to use the Curves tool to process the individual RGB channels. The secret of success of using this technique is to select the correct blend modes.
1. Open your image and make normal Levels and Curves adjustments.
2. Make sure you have the Layers Palette open
3. Select, Layer>New Adjustment Layer>Curves, a New Layer dialog box opens, now change the blend Mode to Color and click OK. The Curves adjustment Palette opens.
a. Click the Channel selector and choose RED Channel, Apply a shallow ” S” curve.
b. Select GREEN Channel and click on the centre of the diagonal line and push up to create a very shallow curve.
c. Select BLUE channel , drag the right hand end of the diagonal like down 1 square, drag the lower lefthand end up 1 square.
4. The image can be tweaked by opening a further Curves adjustment layer this time set the Blend Mode to Luminosity, select Layers>New Adjustment Layer>Curves, now change the Blend Mode to Luminosity. Introduce an S curve to adjust contrast if required.
5. Select Layer>New Fill Layer>Solid Color>Mode=Color, click OK. When the Color Picker opens enter the # “e5ec0c” this is a lime green colour, click OK. Reduce opacity to about 10 - 25% or to suite
6. All these adjustments can be tweaked to produce the effect you find most pleasing, don’t be afraid to experiment.

