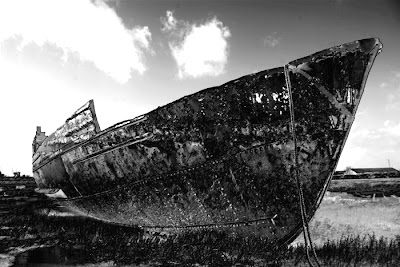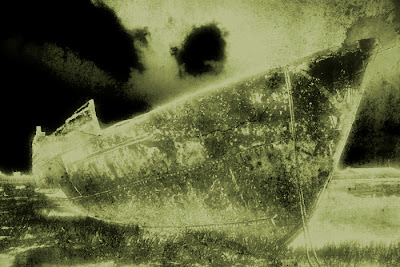
This is the method I used to create the image below from the image above:-
- Duplicate background layer, Filter> Styilize> Solarize, Gaussian Blur> 12, Blend> Exclusion.
- Copy and past as new layer a texture image. I used a cracked old plaster wall. Blend> Vivid Light and adjust opacity to suit.
- Levels Adjustment layer - tweak to suit.
- Add New Layer and Fill with colour R:229, G:174, B:43, Blend> Multiply, adjust Opacity to suite
- Hue/Saturation Adjustment Layer - tweak Hue and Saturation to suit.

The blog version of this image can be seen here.
No comments:
Post a Comment